Let's start talking details! My first Coat project this fall is going to be the Ralph Pink Fari Coat. The Fashion fabric is a charcoal wool melton that I picked up locally on sale for about $21/yard. I'm going to use a poly charmeuse from my stash for the lining. I know, I know...poly...but just look at it:

The photo really doesn't do it justice. It's a bold abstract boarder print with mustard, tan, grey and black on a white background. It will be perfect for a lining that will show frequently. Because the finished product will be dry cleaned, I washed and dried the poly charmeuse like any other fabric, and steam treated the wool myself. I know there are other ways to pretreat your wool such as paying your dry cleaner to steam press it (without creases, of course) or to toss the yardage into the dryer with damp towels and run it until the towels are dry. I once had my dry cleaner steam press wool for me and it worked out great, except for the ridiculous cost ($20-$30). I know that can vary as some ladies in the group can get it done in their town for $7. It's worth asking around to avoid the labor. I have not tried the dryer trick because I don't trust my dryer. It's very old and the heat it puts out is inconsistent.

I first looked at making this coat in the spring of 2016. I went so far as to cutting it out and starting to construct the outside before I realized the fabric I selected was not at all suited to the structure of the garment. I abandoned that version and set all my supplies aside for the summer. The first thing I did when preparing to restart Fari Coat this season was to try on my existing muslin. It's still fitting just the way I want... which is awesome! That means all the pattern adjustments are already complete and I can get cutting and constructing!
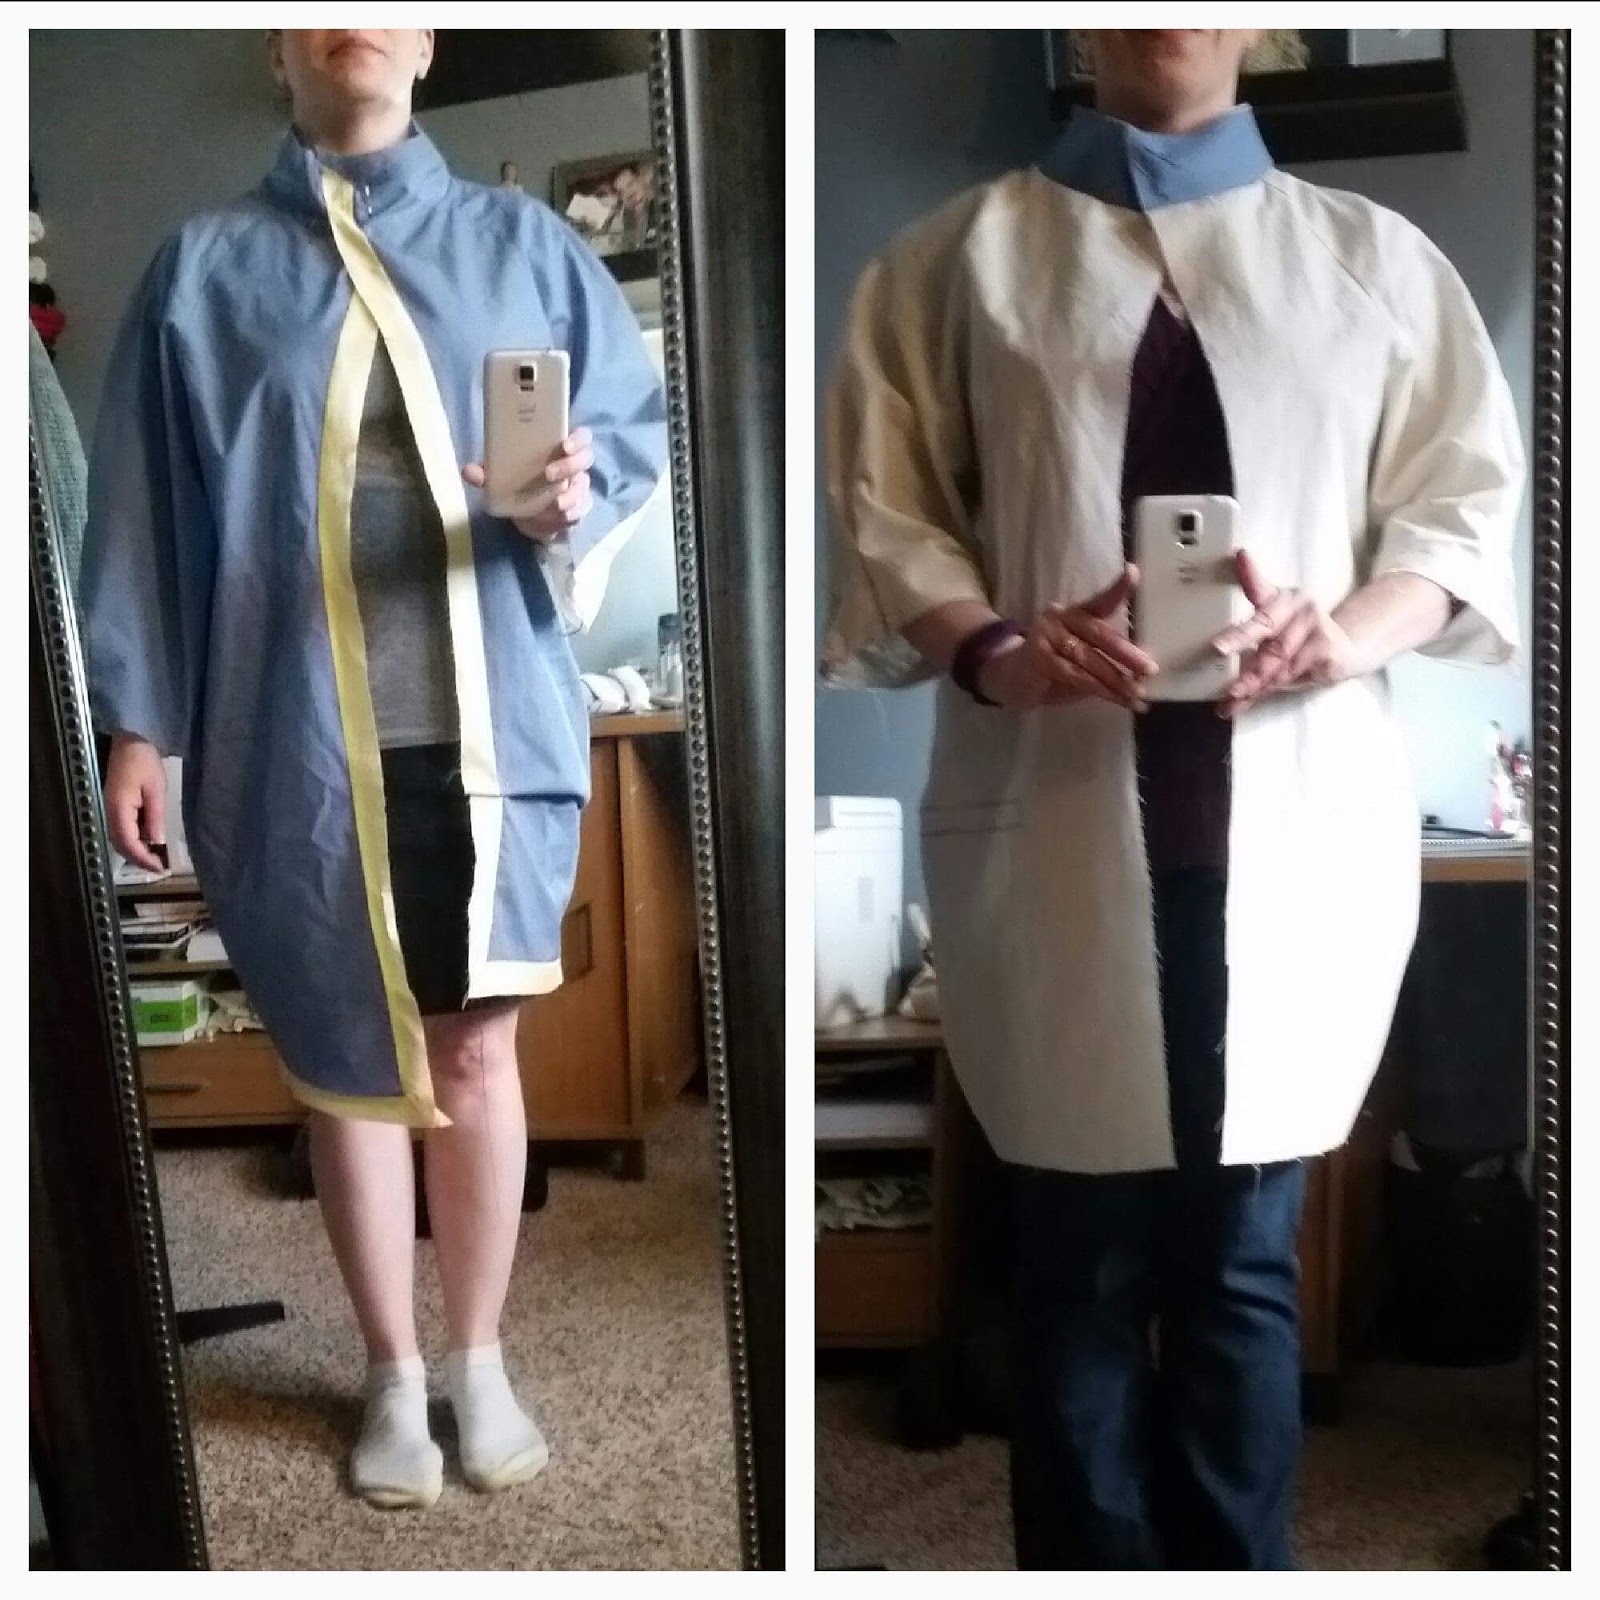
Below is my first and second muslin. As you can see in the blue, initially both the sleeve and coat length were far too long for my short frame. The pattern does not have shorten/lengthen lines, but I found it very easy to draw my own, perpendicular to the grain line. I was satisfied where the hip and waist hit, so I placed the lines just under the welt pocket markings. This helped me avoid distorting the cocoon shape of the coat. I did also make a slight forward shoulder adjustment to the top of the sleeve line. That and a firmly interfaced collar on the white muslin corrected the slight shifting to the back I experienced.
Below is my first and second muslin. As you can see in the blue, initially both the sleeve and coat length were far too long for my short frame. The pattern does not have shorten/lengthen lines, but I found it very easy to draw my own, perpendicular to the grain line. I was satisfied where the hip and waist hit, so I placed the lines just under the welt pocket markings. This helped me avoid distorting the cocoon shape of the coat. I did also make a slight forward shoulder adjustment to the top of the sleeve line. That and a firmly interfaced collar on the white muslin corrected the slight shifting to the back I experienced.

Finally, before beginning to cut, I had to decide which was the right and wrong side of my wool. Is it the textured weave side or the smooth side? I asked the Facebook group and Googled like crazy. The consensus was that whichever side I wanted was the right side, with the smooth side as a runner up. I chose to go with the smooth side.

The pattern calls for about 3 yards of wool, which is what I bought. Because I shortened the pattern so much, I only used 2 of it! Next up is deciding what sort of tailoring I want to do and then prepping the pattern pieces with interfacing.

Where are you in your Coat journey?
Join the conversation at our Group's Facebook Page, Sew Alongs & Sewing Contests, and share what you are working on this week!
Have you missed one of the Coat Cravings posts? Find all the links HERE.
Comments
Post a Comment